How to Make Sub Bullets Animate Individually in Powerpoint 2010 TUTORIAL
How to Make Sub Bullets Animate Individually in Powerpoint 2010
You already know how to add together animations to objects in PowerPoint, but what if you lot want more control over the individual blitheness timing and system? That's where the Animation Pane and Avant-garde Timeline in PowerPoint come up in. These are especially useful tools when yous have a lot of objects moving effectually and you want to sync their timing.
The Animation Pane lists of the objects on a slide that have animation practical. You can employ it to reorder the animation sequence and choose options for the animations. When objects accept unlike durations and get triggered automatically, their bars on the timeline indicate information technology with different lengths. The timeline vaguely resembles what you might see in a multimedia program similar Adobe Flash, though it isn't as extensive—but and then, it doesn't need to be for what PowerPoint does.
In this tutorial, I'll bear witness yous how you lot can use the Animation Pane in PowerPoint to apply entrance, accent and leave effects to text, tables, shapes, images, video clips and whatever other objects on a slide that you lot can select.
Demand Help? Download Our eBook on Making Bully Presentations (Gratuitous)


We also take a helpful compliment to this tutorial. Quickly grab it before you read on. Download our FREE eBook: The Complete Guide to Making Not bad Presentations, which will help y'all write, pattern, and evangelize the perfect presentation.
Control PowerPoint Animation With the Animation Pane (Video)
In this screencast, learn how to command animation using the Animation Pane in PowerPoint. Watch the complete video below or read on for the written tutorial that follows.
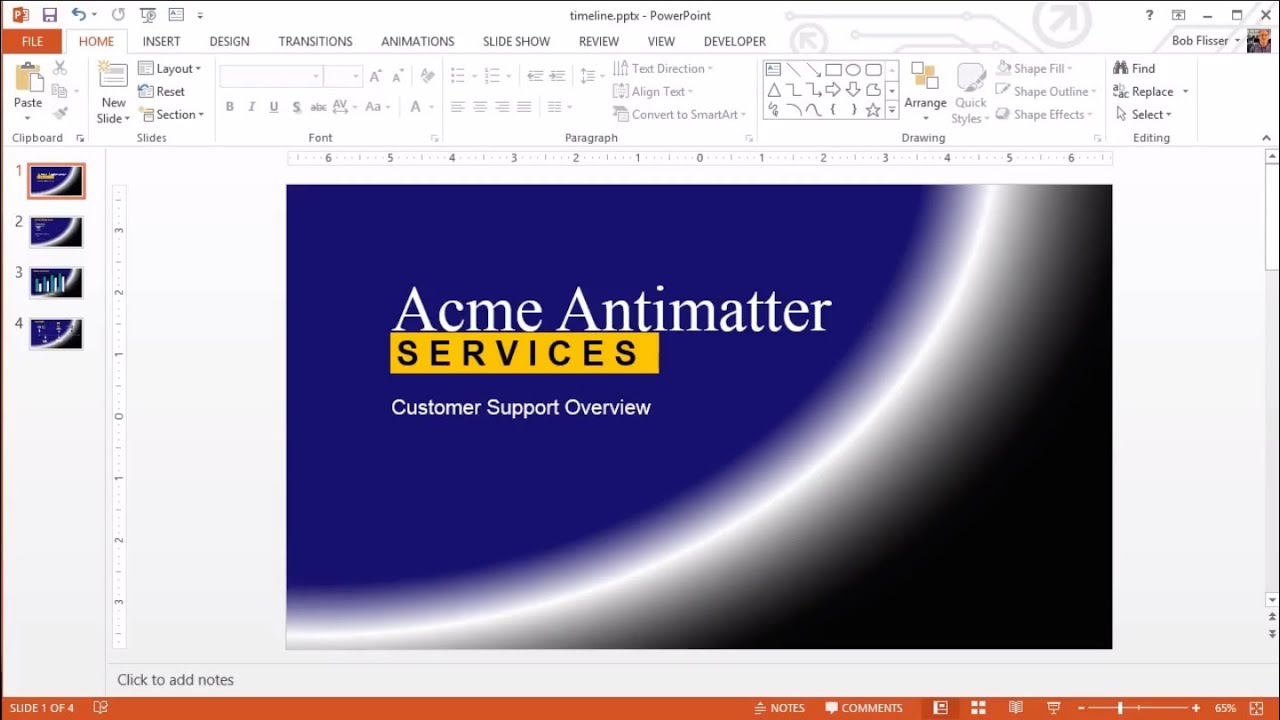
You can follow forth with this tutorial using your own PowerPoint presentation if you'd like. Or if you prefer, download the free zip file included for this tutorial, which contains a sample presentation calledtimeline.pptx.
The presentation has four slides and no animations or transitions applied. Play the presentation just to come across how it looks. Either click the Slide Show button on the bottom of the screen (right side in Windows, left side on the Mac) or utilize the shortcut: F5 (Windows) or Ctrl-F5 (Mac). And then just click through or press Enter to go through the slides.
Three Stages of Animation
After you stop the slide evidence, go to slide ane. At that place are 3 items to animate: company name, text in the yellow box, and subtitle below the yellow box.
In that location are 3 available times of an object's blitheness.
- Archway: how the object showtime appears
- Emphasis: what the object does once it's on the slide
- Go out: how the object leaves the slide
These timings can be exclusive, if you want. For example, you can have an object that has an animated leave, but non an blithe entrance.
Applying Archway Animation
Allow'south apply entrance effects to all three objects. Click inside the visitor proper name (Top Antimatter) and click the Animations tab on the ribbon. Apply animation in 1 of iii ways, as you tin run into in the screen capture, below:
- Select an result in the Animation section or click the More than button and select an outcome
- Click the Add Animation driblet-down and select an blitheness
- Click the Add Animation drop-down, and so click More Entrance Furnishings, and then choose one from the dialog box


Notice the small "i" in the box next to information technology. Now use archway effects to the other ii objects the same way. The slide should now show a "2" and a "three", and so it looks like this:


Re-Ordering Animation in Windows
Since the yellow box text at present comes in 2nd, let's modify information technology so information technology comes in starting time (the company name will then come in 2d).
In Windows, click the Animation Pane button on the ribbon. That volition display the pane on the right side, with the three objects listed.


Either elevate the #two detail to the acme, until you see a thin horizontal bar at the top of the stack, OR select the #2 particular and click the Upwards Arrow on top of the stack.


On the slide, the visitor proper noun will now show a "2" box and the xanthous box text volition show a "1" box. Run the slide again, and that will be the club they appear.
Re-Ordering Animation on the Mac
The steps are like on the Mac. Click the Reorder push, and that will display the floating Custom Animation box, as well with the 3 objects listed.


Either drag the #2 detail to the tiptop (there won't be whatever thin bar to guide you), OR select the #two particular and click the Up Pointer below the stack of objects.
Now it's the same as in Windows: on the slide, the company name will at present prove a "2" box, and the yellow box text will testify a "1" box. Run the slide again, and that will exist the order they appear.
Applying Emphasis and Exit Animation
When you use boosted blitheness to the same object, the timeline will display the object more than in one case. An object will be listed once for each phase of animation.
Allow'southward add together an emphasis to the xanthous box text. Click anywhere inside information technology, just if y'all're using Windows, don't just cull an animation from the main part of the ribbon, or you'll remove the box's original animation. We desire to add together an consequence to the existing ane, so click the Add Animation drop-down and select an emphasis animation from the list, or choose More than Emphasis Furnishings and choose one from the drop-downwards.


If you're using a Mac, you do select an emphasis outcome from the listing. Unlike the Windows version, this volition add an blitheness, and non override the previous one.
Now use the same method to apply an exit result.
The result is that the yellowish box text has indicators on the slide and in the timeline showing that it's #ane, 4 and v in the sequence.


Play the presentation, and yous encounter it comes in second, does its emphasis, then exits before the company name and Customer Support text, since they don't take whatsoever exit effects. So 2 adjustments to make:
- Make the accent terminal longer
- Brand all iii items exit together
In the Blitheness Pane in the Windows version, put the mouse pointer on the end of the #4 bar then that the mouse pointer becomes a 2-headed arrow. Elevate to the right, so the bar indicates that it'due south now 2 or 3 seconds:


If yous're using a Mac, the Animation Guild box doesn't accept timing bars. To increase the time of this effect, use the Duration box on the right side of the ribbon. (Run into screen capture, below.)
Now click inside the Acme Antimatter text, then Shift-click inside the Customer Support Overview text, so both text boxes become selected. The same style you did before, add the aforementioned exit upshot that you lot chose for the yellow box text.
If you run the presentation now, you'll see that the xanthous box text still exits first. Nosotros want both #half-dozen furnishings in the timeline to happen concurrently with the #5 item. In Windows, either right-click it or click the drop-down arrow and select Start With Previous. Y'all can also choose With Previous from the Start drop down on the ribbon.


If y'all're using a Mac, select both #half dozen items in the Blitheness Guild box, click the Start drop-down, then select With Previous.


Now when you run the presentation, all 3 items will go out simultaneously.
Controlling the Animation of Text
When you have a placeholder of bulleted text, you can control how much of it comes in at in one case. Go to slide ii, which has a headline and bullets on the first and second levels.
As before, select the headline and apply an entrance effect, and so do the same for the box of bulleted text. When you play the slide, yous'll run into that when in that location are 2d-level bullets, they enter all at in one case with the first-level bullet above them. The numbering shows that will happen:


Let'southward change that and then each line comes in separately. In Windows, click anywhere in the bullet text, and then in the Blitheness Pane, either right-click the second particular or roll the mouse arrow over it and click the drop-down. From the drop-down, cull either Result Options or Timing.


A dialog box appears, and it has three tabs: Effect Options, Timing, and Text Animation. Click the Text Blitheness tab. Click the Group Text driblet-down list and select By 2nd Level Paragraphs (or a higher number).


Click OK, and you'll get a preview of the blitheness running, with each line of text coming in separately. Run the slide evidence to go a better look.
This feature works mostly the same on the Mac. Instead of correct-clicking the item in the Blitheness Order box, you twirl open the Text Animations section. The choices are the same equally in Windows.


Decision-making the Animation of a Chart
Nautical chart blitheness is similar to text animation. Go to slide 3 of the presentation, which has a simple column chart. Select the chart, then in the Animations tab of the ribbon, choose an entrance effect. You'll see a preview of the animation, which shows the whole chart entering at once. The chart will be listed equally one particular in the Animation Pane.


Y'all tin can make the bars enter in diverse orders: each grouping (yr) entering at once, each series (fix of 4 columns) entering at once, the columns of each series entering one at a time, or each column entering one at a fourth dimension, from left to right.
In Windows, right-click the Chart 4 item in the Blitheness Pane, then select either Event Options or Timing. In the dialog box that appears, click the Chart Animation tab. That tab has but 1 matter in it: a driblet-downward listing. Click it and brand a choice, and then click OK. Effort a few of them to see which one you like.
The Mac version also works like animating text. Subsequently applying the animation, make the adjustments in the Nautical chart Animations twirl-downwards section of the Custom Blitheness box or with the Upshot Options button on the ribbon.


Synchronize Automated Timings
The Blitheness Pane is especially helpful when object animations run automatically, rather than with a mouse click. The main difference between the Windows and Mac versions is that the Mac doesn't display an actual timeline, with horizontal bars. Otherwise, the capabilities of the Custom Blitheness dialog box are the same.
Go to slide iv of the timeline presentation. The horizontal arrow is one object, and if y'all click one of the thumbnail images, y'all'll run into it'south grouped with the description, pointer and month. We'll apply animation to the horizontal arrow, then to each of these groups.


Animating the Horizontal Pointer
Select the horizontal arrow, and from the Animations tab, utilize a Wipe transition. Click Event Options and cull From Left. On the Mac, information technology's the same thing, and yous'll find the Upshot Options department as a twirl-down in the Custom Animation toolbox and also on the ribbon.


On the right side of the ribbon, note the Timing group, which has settings for Start, Duration and Delay options. For the horizontal bar, leave the default settings, which should be:
- Beginning: On click
- Elapsing: half second
- Delay: none
On the Mac, these options are in the Timing twirl-down section of the Custom Blitheness toolbox.
Preview the slide, if you want.
Animating the Groups of Objects
Select the offset group ("Acme Purchases Tablets"). It's easiest to select the group by clicking the epitome thumbnail. On the ribbon, choose the Wipe outcome, and make it wipe upwardly, which should exist the default management. Use these timings:
- Start after previous
- Elapsing: one-half 2nd
- Delay: 1 second
This means that 1 second later the horizontal bar finishes, this group of objects will spend one-half a second wiping upward.
A quick manner of applying the aforementioned settings to the other two groups of objects that are above the bar is to utilise the Blitheness Painter. Go out the first group selected, and then on the ribbon bar, double-click the Animation Painter. Now click the other two thumbnails higher up the horizontal bar.
Since you lot're done with the Animation Painter for a moment, you demand to exit it. Either press the Esc fundamental or click the Blitheness Painter. The mouse pointer will become normal, once more.
If you're using the Mac, at that place is no Animation Painter. Y'all have to utilize the animation to the other groups manually, as you just did with the start group.
Now animate the two groups below the horizontal arrow. Select the beginning group, apply the Wipe result, and have it wipe downwards from the tiptop. Make sure information technology uses the same timings as the others:
- Start after previous
- Duration: half second
- Delay: 1 second
In the Windows version, click the Animation Painter (only a single-click, this time), then click the Stock Fluctuations group. In the Mac version, manually apply the blitheness to the other groups.
The slide should now look like the screen capture below, with the timeline showing the progression of the animations. Note there is only one mouse icon in the Animation Pane: information technology shows that we accept to click (or press Enter) just once. That will make the horizontal arrow come in, and everything else volition follow automatically.


Preview the slide. It's almost right, except the group below July should wipe down simultaneously with the group to a higher place July wiping upwardly.
Click the height July item, and notice that it'due south Grouping 6, which is 4th on the list. The lesser July item is Group 7, which is 6thursday (terminal) on the list.


Bump Group 7 upwards in the Blitheness Pane one spot, so it's only below Group 6. Prepare the timings as follows:
- Start: with previous
- Duration: one-half second
- Delay: 1 second
In the Windows version, that makes the dark-green bars for Groups half dozen and vii run concurrently in the timeline. Just now the last group needs to be delayed for ane second, and then you tin either drag its dark-green bar to the right, or select the grouping and set the delay to ane 2d.
Likewise find that below the timeline, there is a scale of seconds. You lot tin drag the box on this scale left or right to meet all the timings.


Preview the slide when you're done.
Make Great Presentations (Free eBook Download)
We take the perfect compliment to this tutorial, which will walk y'all through the complete presentation procedure. Animations help your presentation stand up out, only there is a whole lot more to master. Acquire how to write your presentation, design it similar a pro, and prepare it to present powerfully.
Download our new eBook: The Complete Guide to Making Swell Presentations. It's available for gratis with a subscription to the Tuts+ Business organization Newsletter.


Determination
PowerPoint's Animation Pane and timeline are dandy features that give you detailed control over object animations. Recall that to use it, yous apply an animation first, then choose an pick in the Animation Pane or toolbox on the Mac. And don't forget that some of the most important features are in the tertiary tab of a pop-up dialog box from a right-click bill of fare.
DOWNLOAD HERE
How to Make Sub Bullets Animate Individually in Powerpoint 2010 TUTORIAL
Posted by: dannylistow1943.blogspot.com


Comments
Post a Comment